You have signed up as a studio and the account is empty. This guide takes you from there to a shared gallery: create the event, upload your photos into folders, turn on sharing, and send your guests the link or QR code.
It follows the screens exactly as they appear in Eventik, so you can keep it open in a second tab while you set up your first event photo sharing gallery.
Step 1: Create the event
Open Events from the menu. A new account shows "No events yet. Click Add Event to create your first one." Click the + button (Add Event) at the top of the page. You can also add an event from the Calendar, or from a client's page.
- Enter the Event Name, for example "Riya and Arjun Wedding".
- Pick the Client. Search your clients, or type a new name to add them; the new client is saved together with the event.
- Choose the Type: Wedding, Portrait, Corporate, Birthday, Engagement, Product or Other.
- Leave Status on Upcoming for a shoot that has not happened yet.
- Set the Date, and add the Location and any Notes for the crew. For a wedding over several days, switch on Multi-day event and set a start and end date.
- If you have team members, add them under Assign Team Members. Then click Save.
The event now appears in your Events list. Click its card to open it. Our calendar guide covers multi-day events and crew time slots in more detail.
Step 2: Get to know the event page
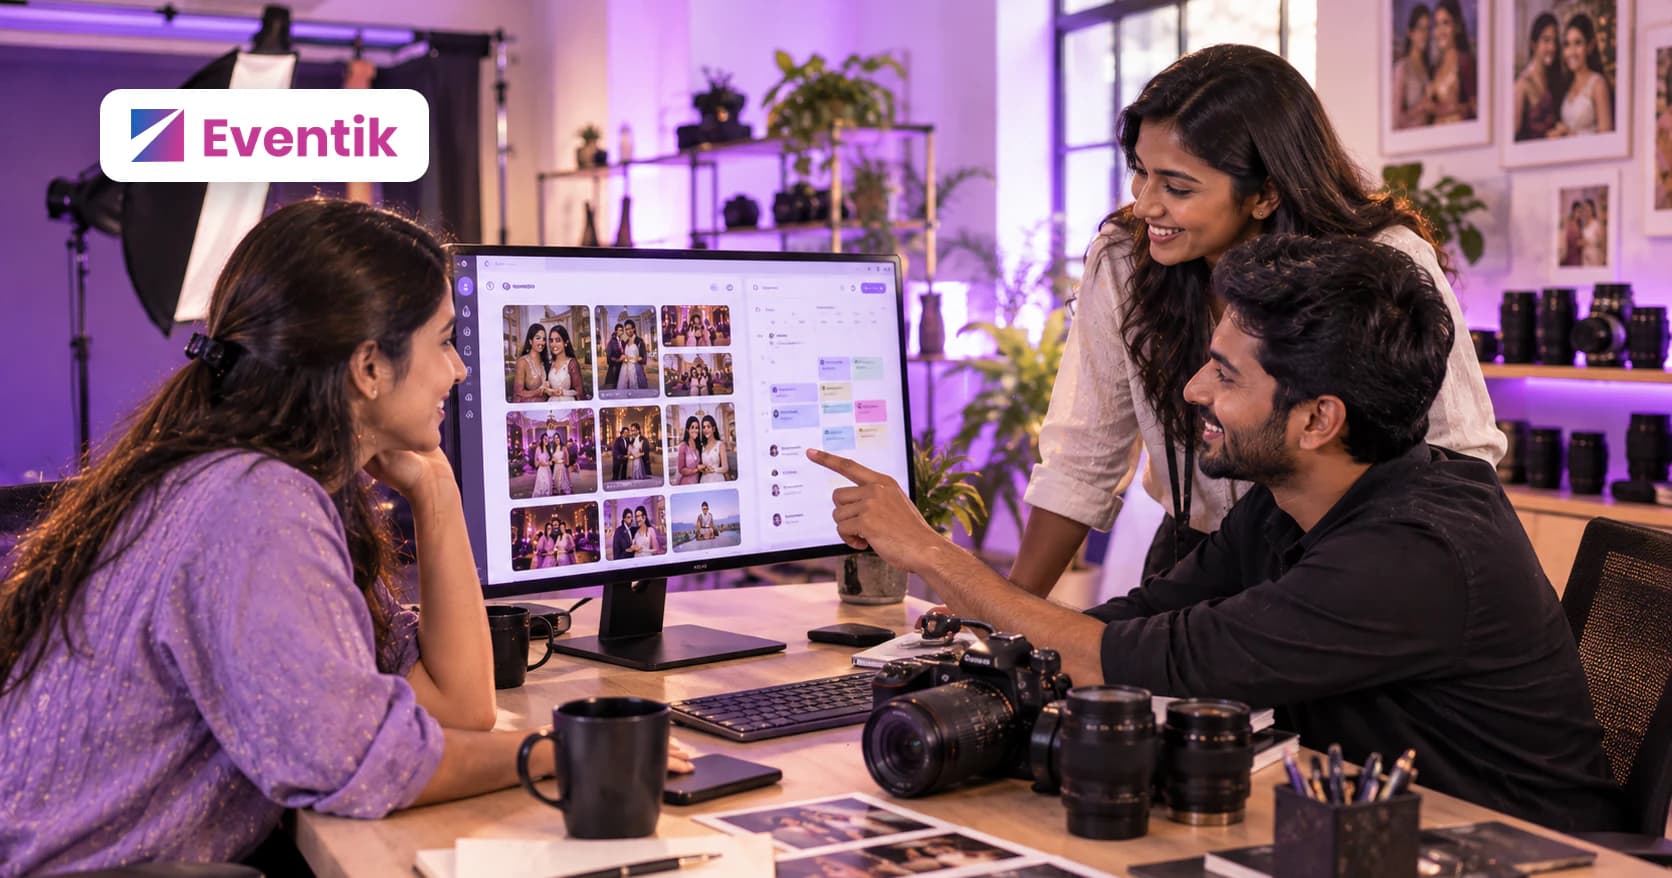
The event page has a row of counts at the top (photos, videos, storage used and participants) and these tabs:
- Overview: the sharing links, QR codes and gallery switches.
- Photos and Videos: everything you have uploaded, organised in folders.
- Flipbooks: digital albums made from the event's photos (a paid add-on).
- Participants: the guests who have joined the event.
- Activity: what has happened in the event, shown to the studio owner.
The gear icon opens the event Settings. Here you can change the cover image (or let Surprise me pick one), edit the event details, add Team Members, and switch on Watermark gallery photos to stamp your studio watermark on the gallery. You upload the watermark itself once, under Studio Profile.
Settings also has Storage Mode: Compressed for smaller files, or Original for full quality. Choose it before your first upload, because it locks once the event has photos.
Step 3: Upload your photos and videos
- Click Upload Media at the top of the event.
- Under Choose folder, keep All Photos or pick Create new folder to make one, for example "Haldi" or "Reception".
- Drag your files into the window, or click Select Files. Photos and videos go through the same window.
- Click Upload. Each photo can be up to 100 MB and each video up to 5 GB; larger files are skipped and Eventik tells you how many.
Later, in the Photos tab, use + New Folder to add folders, and the folder menu to rename, merge or delete one. Click Select to choose photos, then Move to folder or Delete. Deleted photos go to the bin first.
Video uploads come with the Momentum plans and above. See pricing for what each plan includes.
Step 5: What your guests do
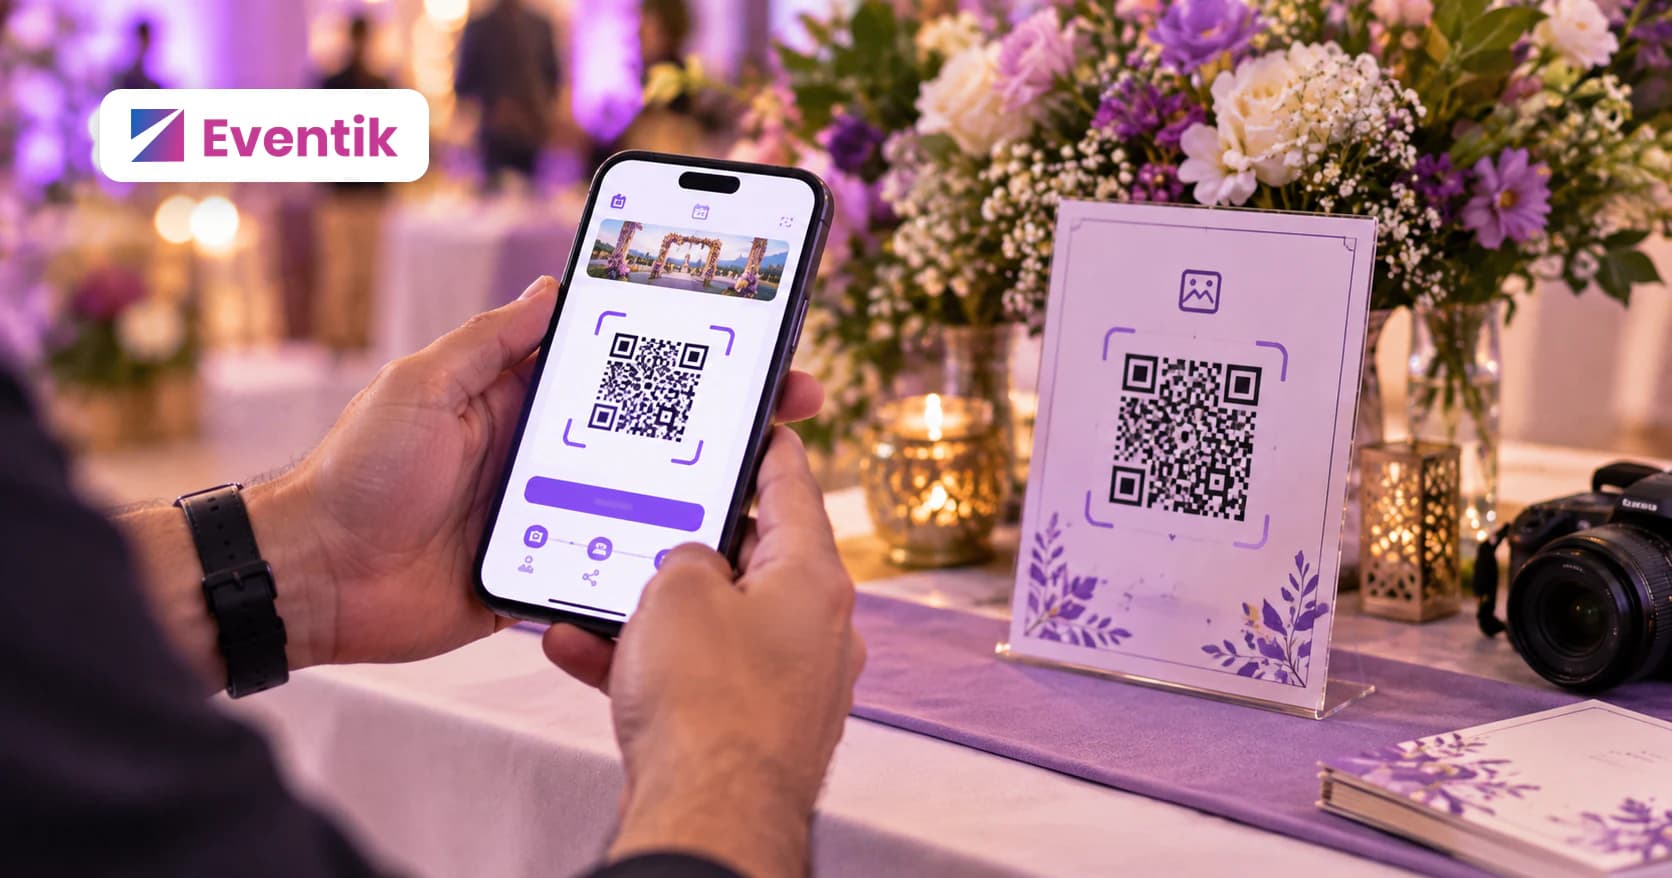
- They scan the QR code or open the link, and see your studio name, the event name and date.
- They tap Sign in to find my photos or Create account, then Join event. In the app they can also use Join an Event and scan the QR or enter the code.
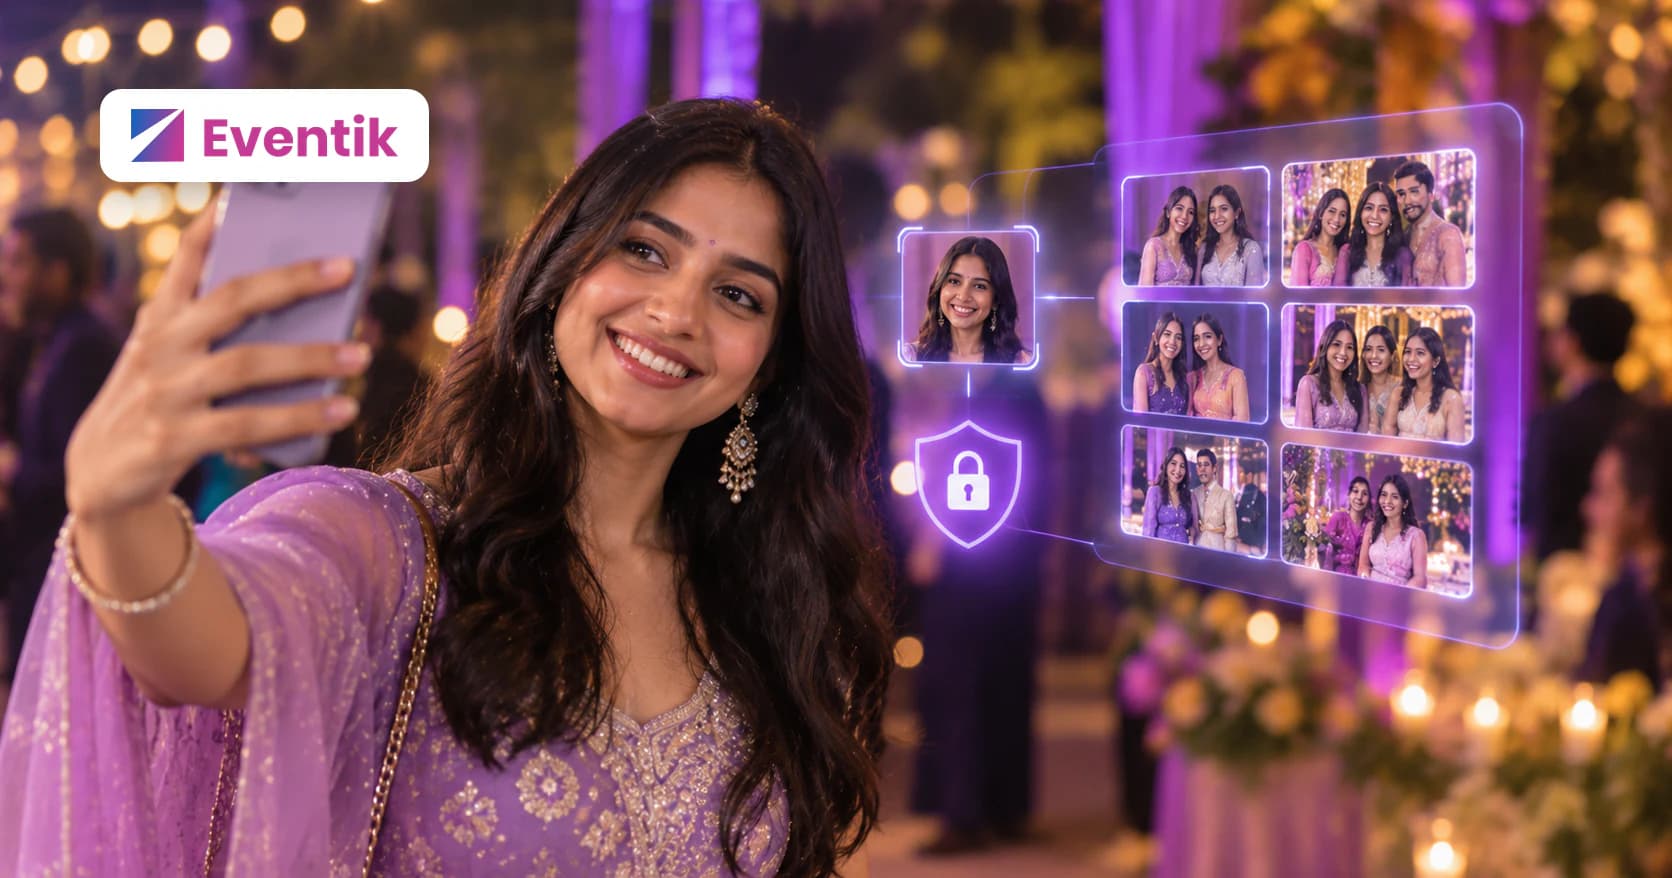
- They take a selfie once, from their profile, and Eventik uses face recognition to find every photo they appear in.
- They browse the My Photos, All Photos, Videos and Favorites tabs, heart the photos they love and, if you allowed it, download them.
Read how face recognition photo sharing works for what happens to the selfie and how matching works.
After the event
- Mark it Completed in the event Settings, so the calendar shows the shoot is done.
- Check Participants to see who has joined the gallery.
- Make a flipbook from the best photos, if you have the add-on.
- Move the event to trash only when you are sure. A trashed event can be restored for 7 days.
Frequently asked questions
How do I create an event on Eventik?
Open Events and click the + (Add Event) button. Enter the Event Name, Client, Type and Date, add a location if you like, and click Save. The event then appears in your Events list.
Can I upload videos as well as photos?
Yes, through the same Upload Media window, on the Momentum plans and above. Each video can be up to 5 GB and each photo up to 100 MB.
What is the difference between Full Access and Personal Access?
Full Access shows the entire gallery. Personal Access shows each guest only the photos they appear in, found from a selfie they take once.
Do guests need an account to see their photos?
Yes. A guest signs in or creates an account, joins the event, and takes a selfie so Eventik can find their photos.
Can I stop guests from downloading photos?
Yes. Turn off Allow Downloads in the Overview tab or the event Settings. Guests can still view and favourite photos.